Build, test, push, sleep, repeat
Do you remember a situation when you want to check an example on GitHub and it doesn’t want to compile? Do you recall a situation when you change something in your codebase and push the code without checking it? Or maybe little renaming after implementing the feature, pushing the code and forgot about improving names in unit tests? These situations can be avoided by building the code, checking tests etc. every time by yourself.
So if there is something which is repeatable and can be automated - why not to improve it?
Continuous integration
There is a solution for that which is called continuous integration (CI). Basically it makes sure that your codebase integrates properly without checking it all the time by yourself. Obviously you can do it manually but this is a common challenge - so using a ready solution will be a good option.
Some solutions
After typing the phrase continuous integration tools in Google search this list appears:
- Jenkins
- TeamCity
- Travis CI
- Go CD
- Bamboo
- GitLab CI
- CircleCI
- Codeship
- Bitrise
These are just a couple of them. Some are working locally, some of them only in the cloud, some have specific features like level of parallelization, mobile-only etc. Which one use at the beginning? Of course the easiest and the most popular one.
Travis CI
Travis CI is free for open source projects so it is a perfect solution for making yourself familiar with CI paradigm. (BTW. They don’t pay me for that phrase. 😉)
Steps to use it:
- Sing in with your
GitHub account - Create an empty
.travis.yml file in your project and fill it with some rules (some examples are written below) - Connect your project with
Travis CI
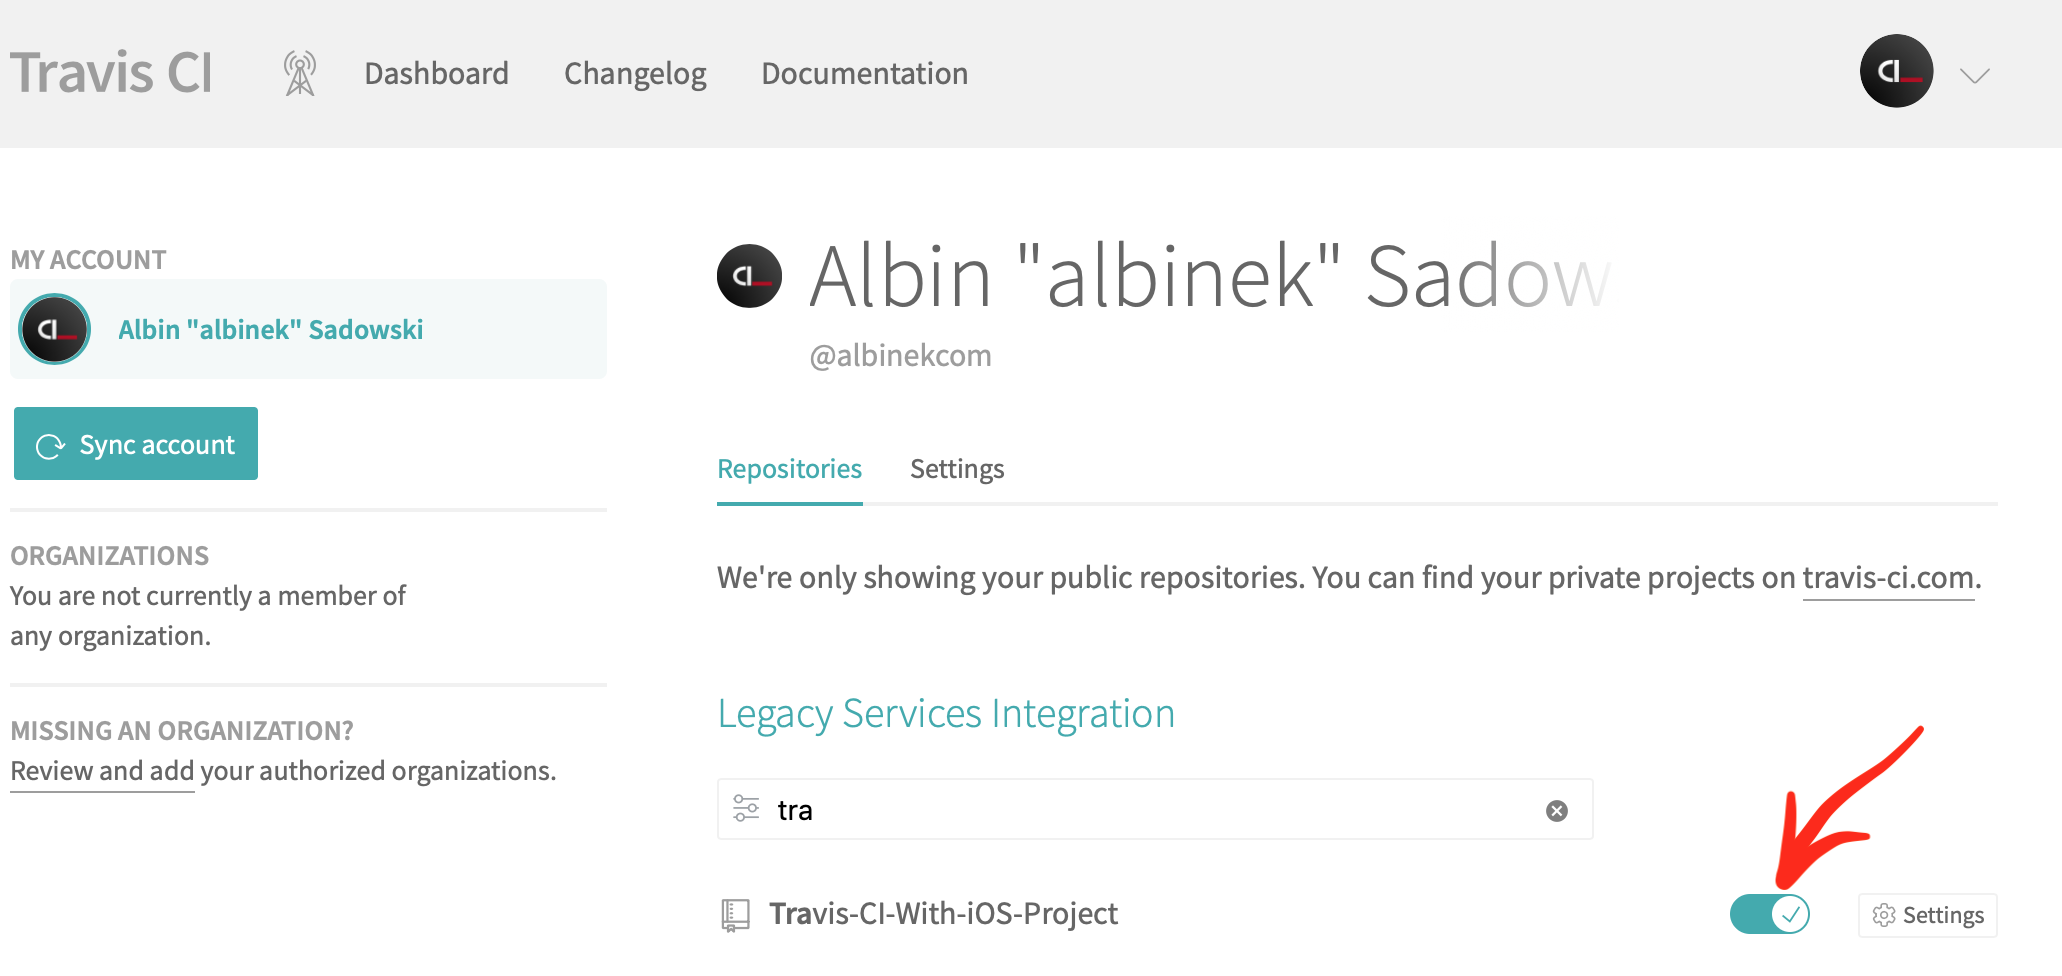
That’s it! Every change in a repository should execute commands located in .travis.yml by default on Travis CI (you can change it in the settings).
Connecting Travis CI to your iOS project
A repository with this example can be found on GitHub: Travis CI With iOS Project.
os:
  - osx

osx_image:
  - xcode10.1

script:
  - xcodebuild test -project Travis-CI-With-iOS-Project.xcodeproj -scheme Travis-CI-With-iOS-Project -destination "platform=iOS Simulator,name=iPhone XS"
Yes, this file contains only 3 keys and 3 values.
- A value for key
os is osx. Nowadays it should be macos, probably it will be changed in the near future. - A value for key
osx_image is xcode10.1. This is the version of used Xcode in this process. - A value for key
script is the command which is used for the building. It is used xcodebuild test with proper values for this project and a simulator variant. Building is done implicitly before testing (xcodebuild test does it automatically).
And that’s it. Enable your project in Travis CI and from this moment you have working CI.
Connecting Travis CI to your Swift project
A repository with this example can be found on GitHub: Travis CI With Swift Project.
os:
  - osx

osx_image:
  - xcode10.1

script:
  - swift test --parallel
The first 2 parameters are the same like in the previous example. The only difference is a script command. It can be done with simple swift test but when you add a parameter --parallel, unit tests are executed faster (in a parallel manner). You can but you do not need to add swift build before, because a command swift test does it under the hood before testing.
Next steps
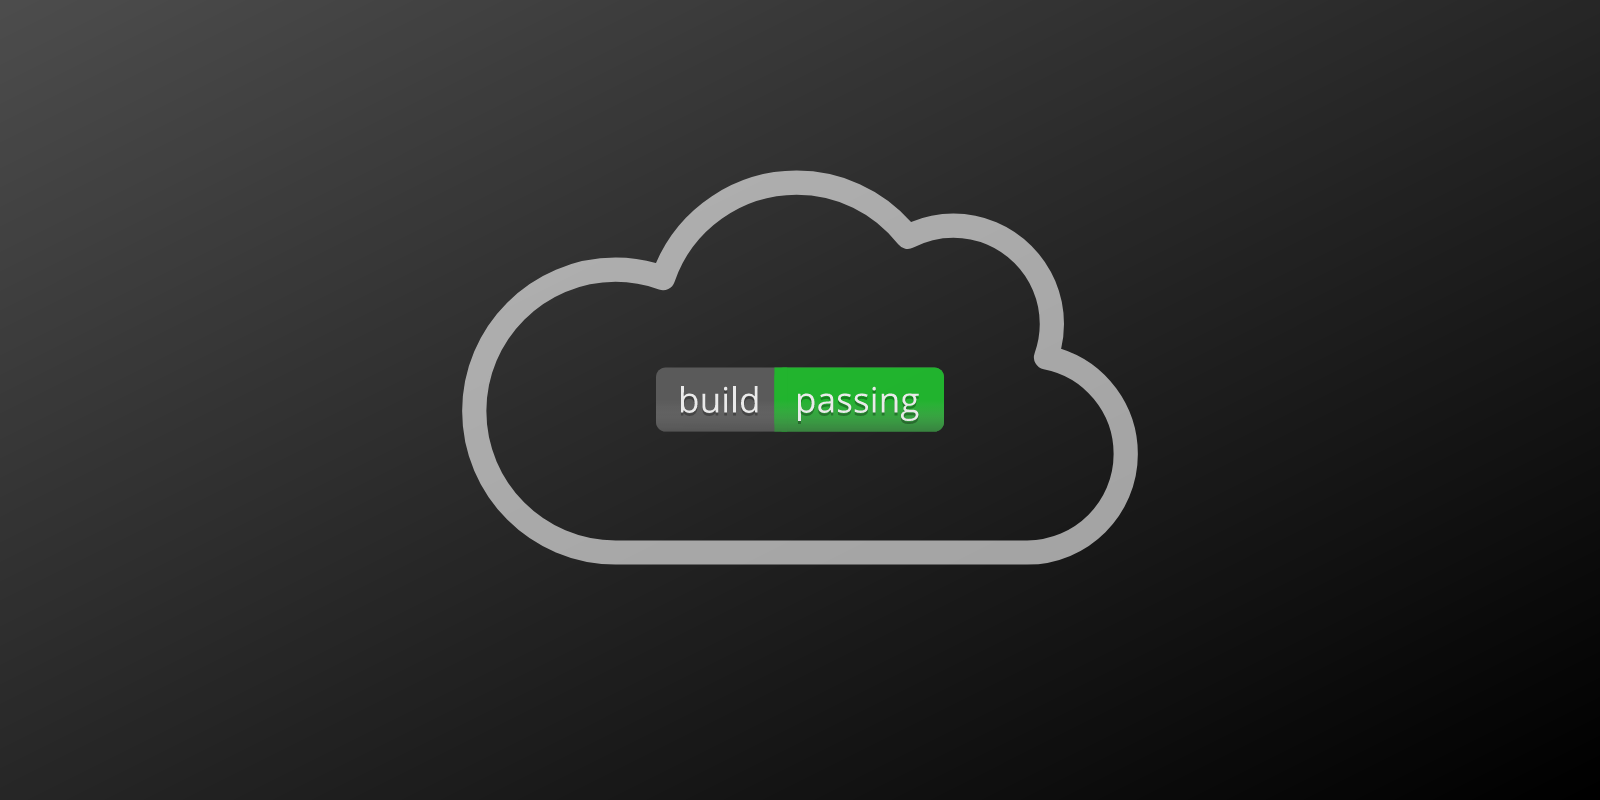
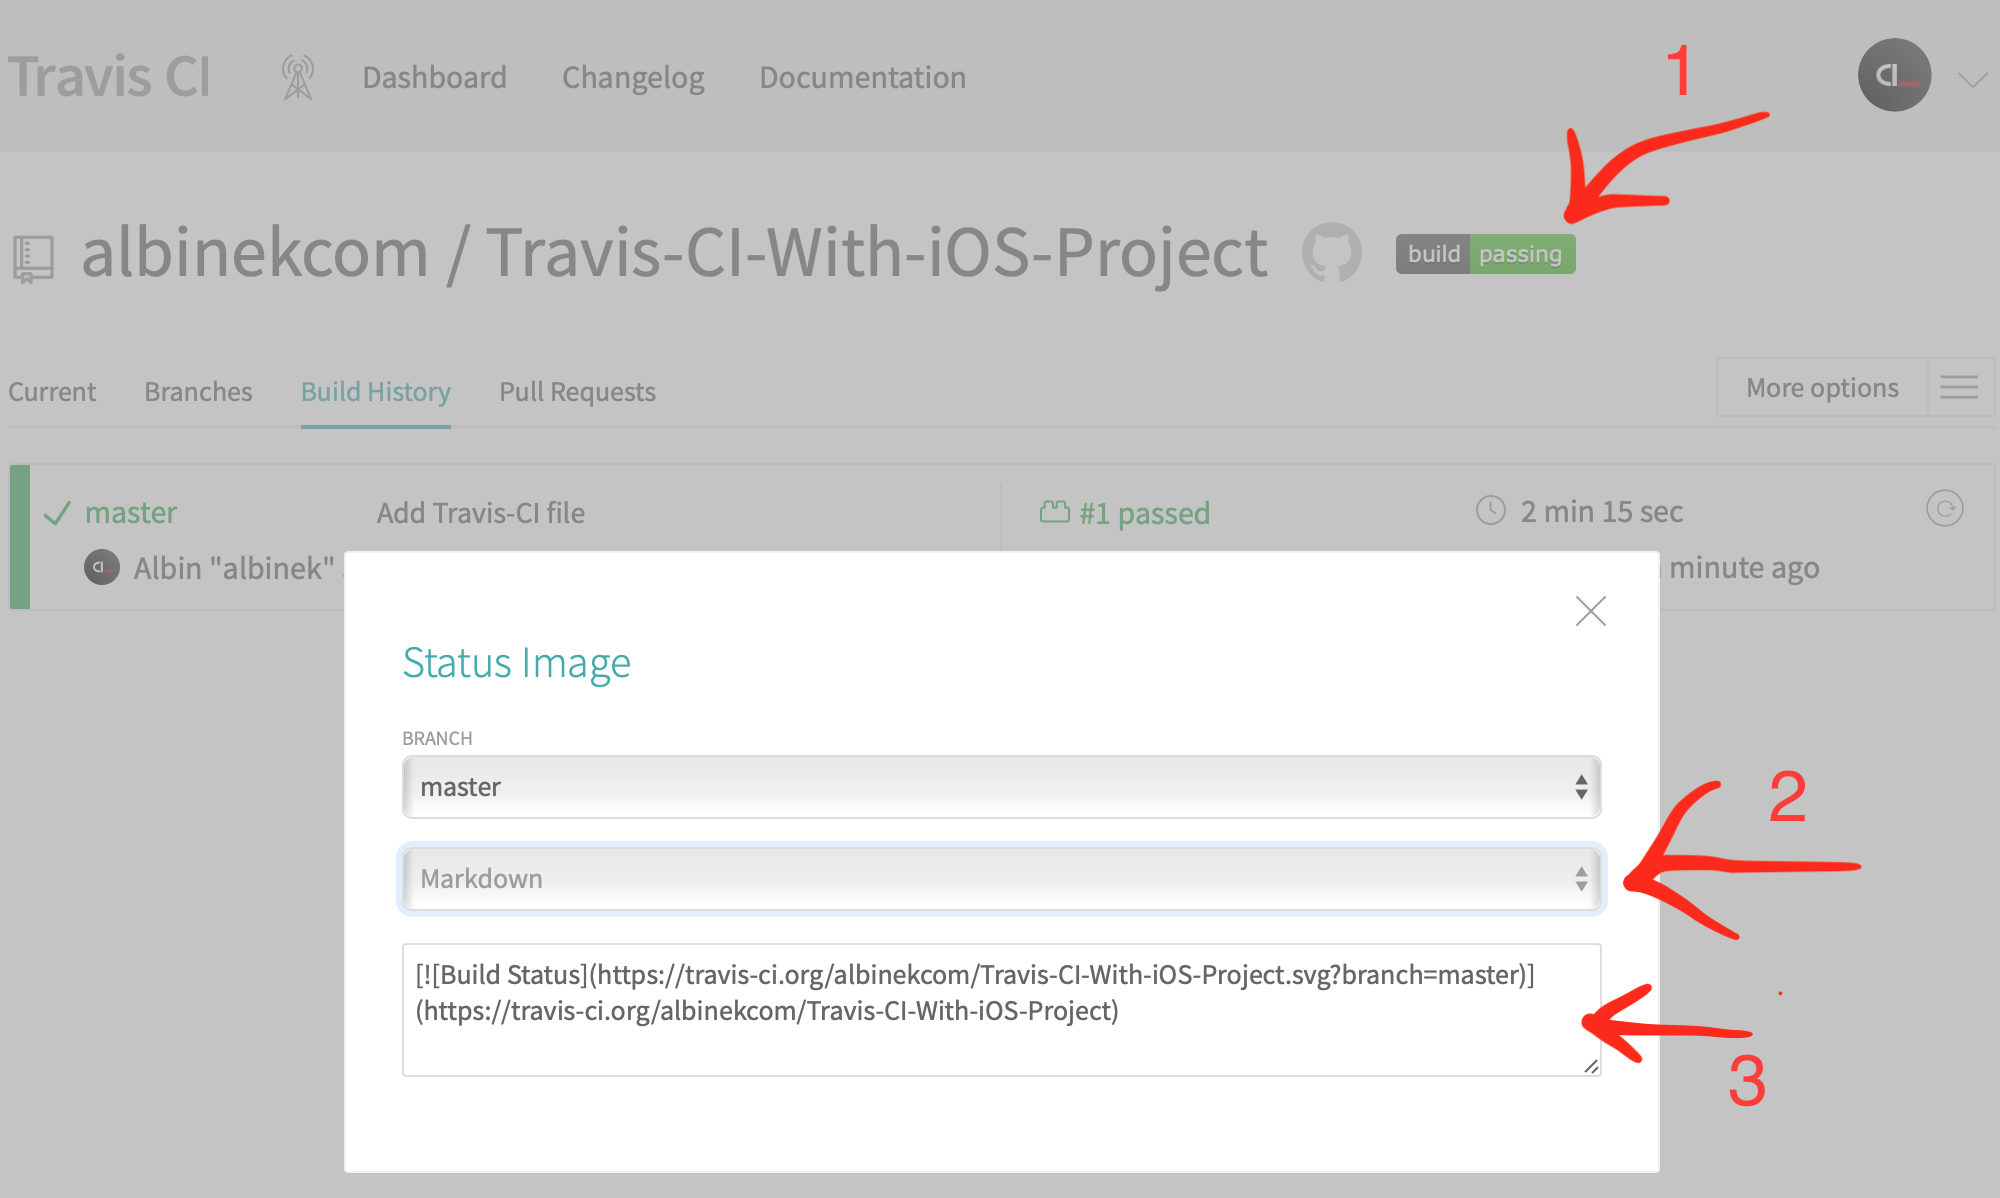
I think the idea of adding a badge in a README.md file is quite welcome because you and other people can easily check a state of your project / library. You can do it by pressing the badge image, choose Markdown style, copy the content and paste in your README.md file.
Furthermore, you can also test your project on other operating systems (if it possible). You need to change things only in one file - .travis.yml. Try to add CI to your other projects even with different languages (solutions can be found mostly by using phrase “travis ci [your_project_language]”).
Can’t find a specific feature in Travis CI? Check other tools! 😉
Conclusions
- Adding CI to your project makes easier for you to notice earlier if something is wrong with building or testing.
- When you use cloud solutions you do not need to take care about the hardware.
- Using free continuous integration in the cloud helps your embedding simple CI in your project.
- Informing a user about a build status of your project / library is a cute practice. 👍