
Vectors, vectors everywhere
Modern websites contain a lot of cute images. Now it is popular to use vector graphics (they use lines, points, and polygons to represent an image) which are scalable without losing the quality, usually simple and designed in a flat manner. Steps are well-known: design a masterpiece, save as a vector image, upload and admire.
This is an example of the vector image. When you change the size of the image or zoom in/out - the image does not lose the quality. Pretty nice, huh?

Do you know that when can add one more operation between save and upload, you will decrease uploading time, you could upload more images on your hosting and improve user experience without the lose of the quality at all?
What is optimising?
A definition form the dictionary:
optimization /ɒptɪmʌɪˈzeɪʃ(ə)n/ - the action of making the best or most effective use of a situation or resource
In computer graphics it is mostly about reducing the size of the image by eliminating unnecessary image resources. The smaller image size is, the quicker is downloaded by the user’s device, your hosting is used less and the whole user experience is improved.
SVG - a vector image
Let’s create an image. For that purpose I will use Gravit Designer which is free and you can even use it in the browser.
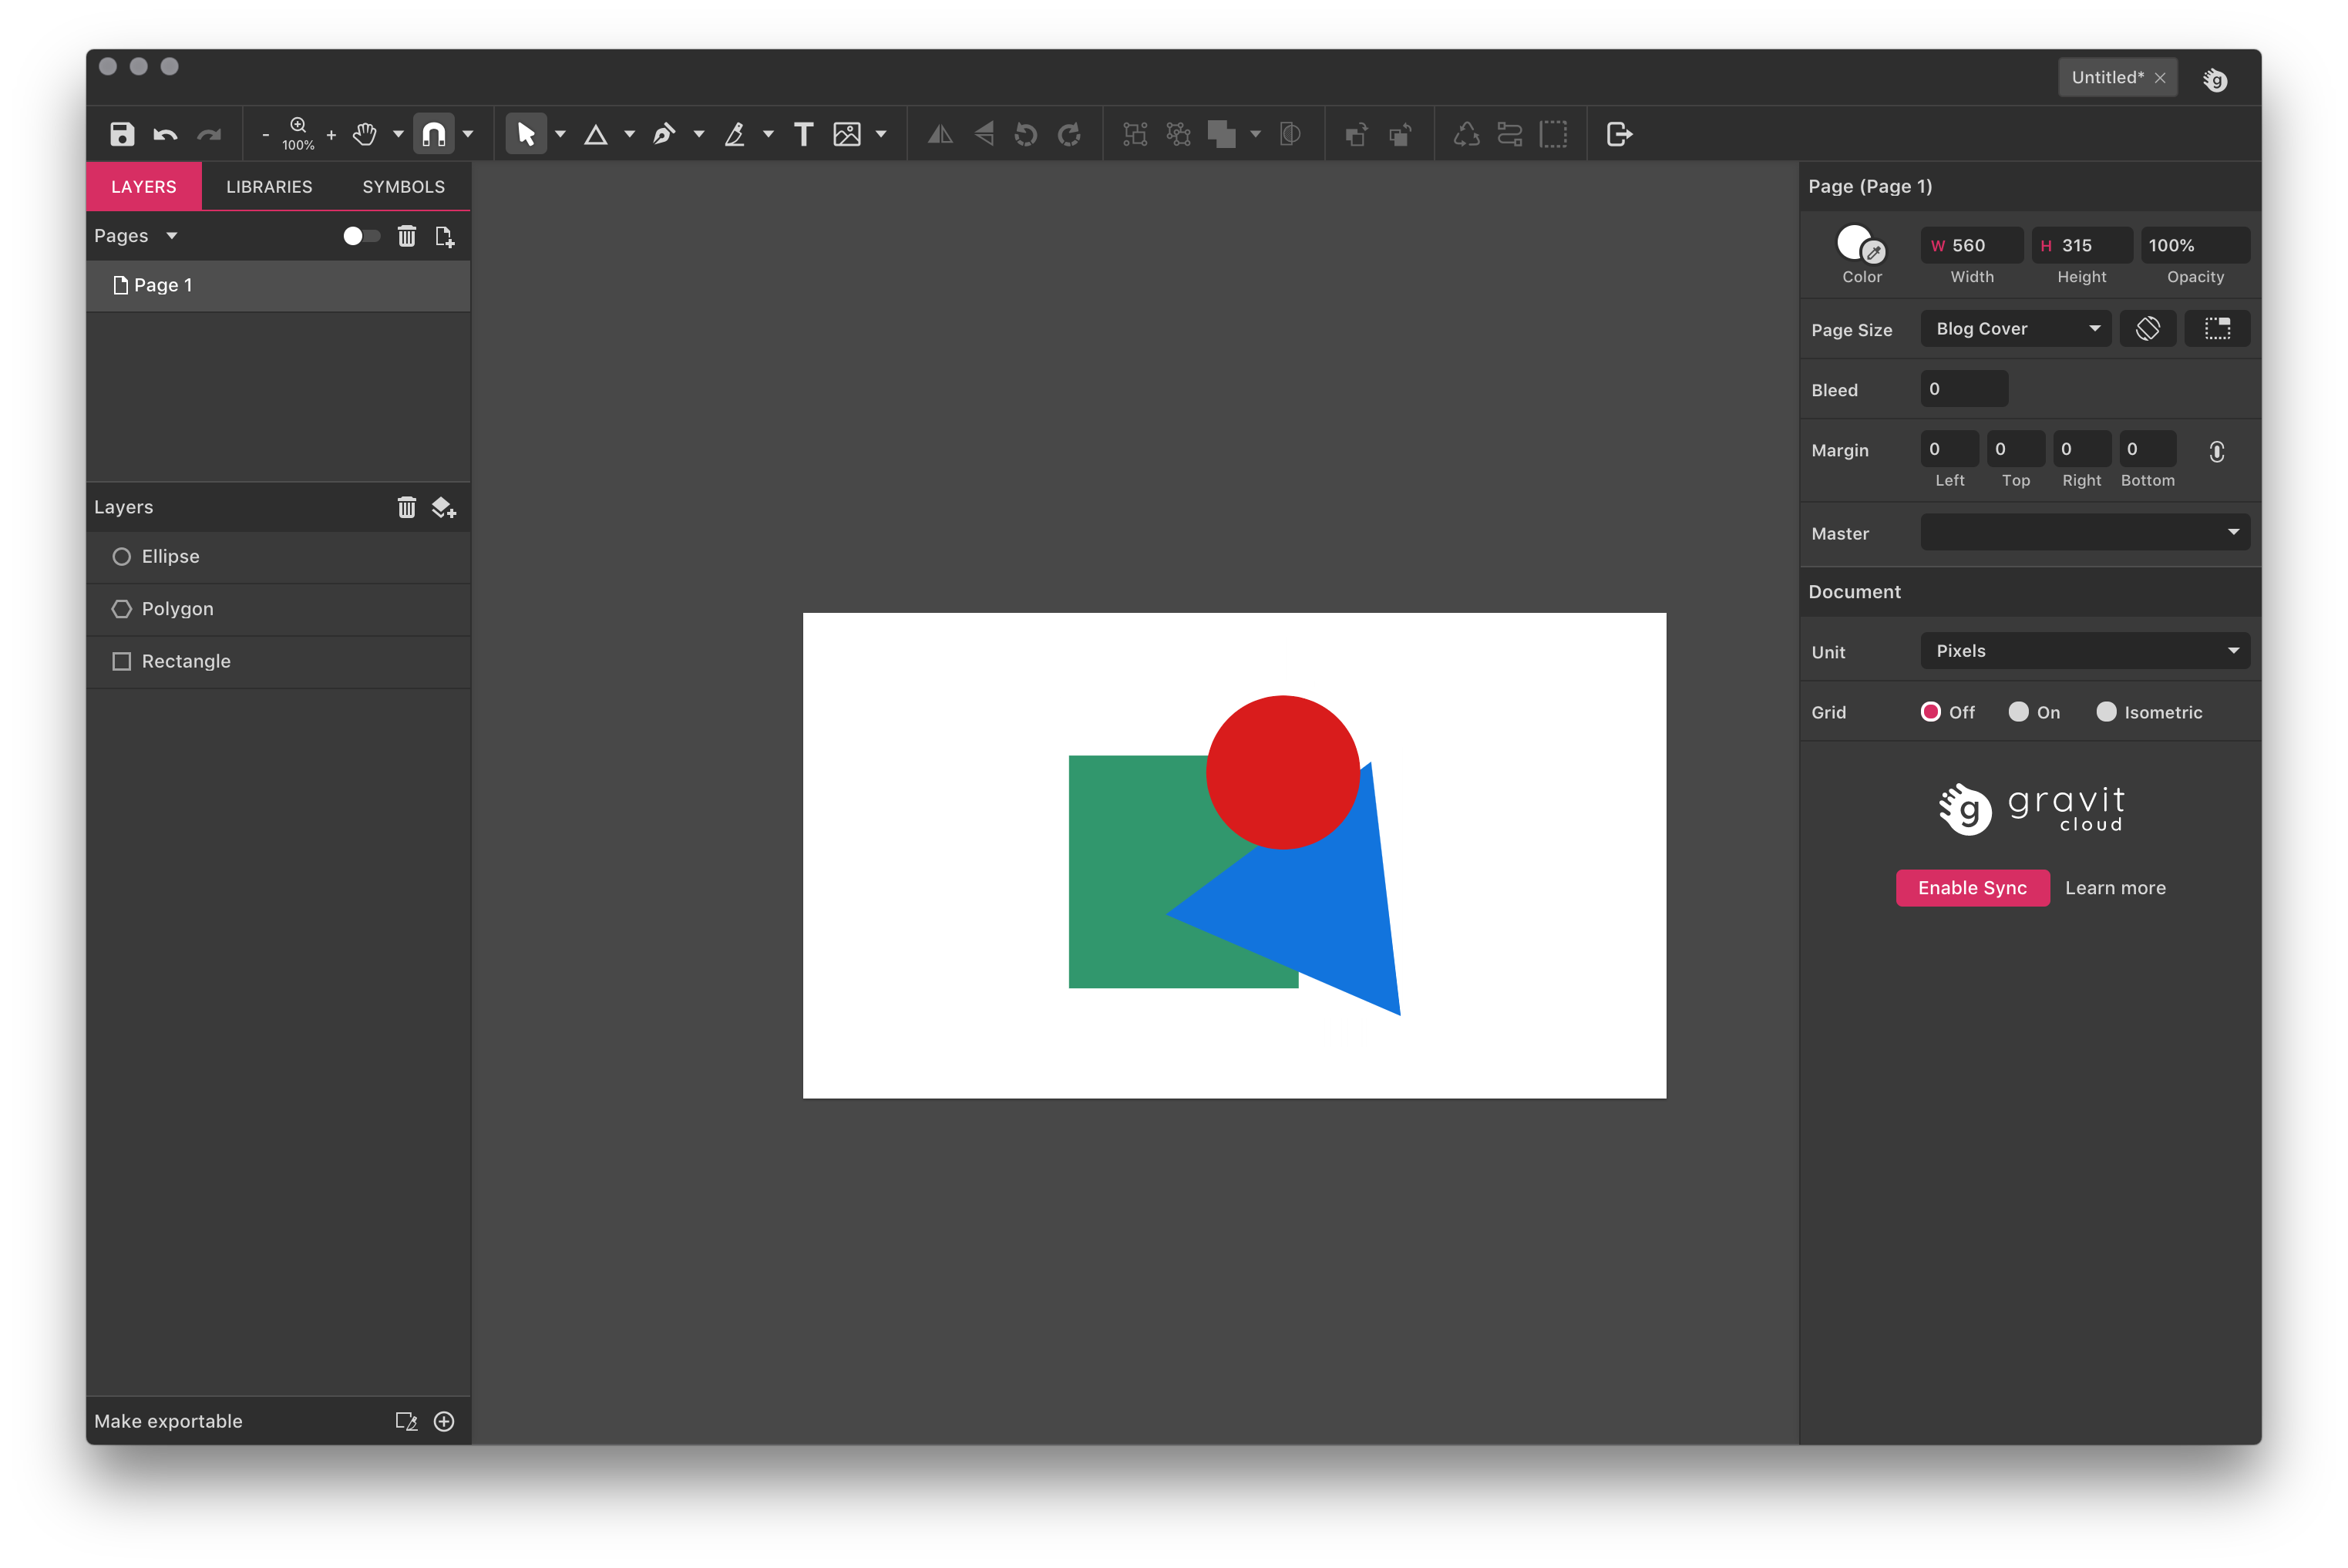
One of the most popular vector images format is SVG so export the image and save as a SVG file. The output file size is 729 bytes.

SVG file is a XML file, so you can easily edit it using normal text editor and change same values etc. “Beautified” code (with nice indents) of this image file looks like that:
<?xml version="1.0" standalone="no"?>
<!-- Generator: Gravit.io -->
<svg xmlns="http://www.w3.org/2000/svg" xmlns:xlink="http://www.w3.org/1999/xlink" style="isolation:isolate" viewBox="0 0 560 315" width="560" height="315">
  <defs>
    <clipPath id="_clipPath_YegyOi5h4pIbcFU6rpeBjkWrMAei2if2"><rect width="560" height="315"/></clipPath>
  </defs>
  <g clip-path="url(#_clipPath_YegyOi5h4pIbcFU6rpeBjkWrMAei2if2)"><rect x="172.395" y="92.546" width="149" height="151" transform="matrix(1,0,0,1,0,0)" fill="rgb(49,151,109)"/><polygon points="368.395,96.546,387.605,261.454,235.185,195.637" fill="rgb(18,116,221)"/><circle vector-effect="non-scaling-stroke" cx="311.3948822334847" cy="103.54551732809568" r="50" fill="rgb(217,28,28)"/></g>
</svg>
It is nice, file is small but can it be improved?
One of the tool is SVGO. It needs npm which is included in Node.js so you need to install it before ($ brew install node for macOS). After that you can install SVGO using command $ npm install -g svgo. Now you can use it, let’s do it in a lazy way - with a default option:

<svg xmlns="http://www.w3.org/2000/svg" style="isolation:isolate" width="560" height="315"><defs><clipPath id="a"><path d="M0 0h560v315H0z"/></clipPath></defs><g clip-path="url(#a)"><path fill="#31976D" d="M172.395 92.546h149v151h-149z"/><path fill="#1274DD" d="M368.395 96.546l19.21 164.908-152.42-65.817z"/><circle vector-effect="non-scaling-stroke" cx="311.395" cy="103.546" r="50" fill="#D91C1C"/></g></svg>
| Size of the file | Size of the file after the optimization | Difference |
|---|
729 bytes | 411 bytes | -318 bytes |
The output of that command is the image with the size of 411 bytes so we save 318 bytes. Maybe it is not so much but when you think about the percentage it is about 44%! Imagine that your whole asset of the images on the website is 10 megabytes. It will be 5.6 megabytes, the website can be downloaded by the user’s browser about x2 faster! Or you can store x2 more content on your website’s hosting without paying more for the extra storage. 😉
This is not the only solution. If you like something with the User Interface, there is the on-line tool called SVGOMG.
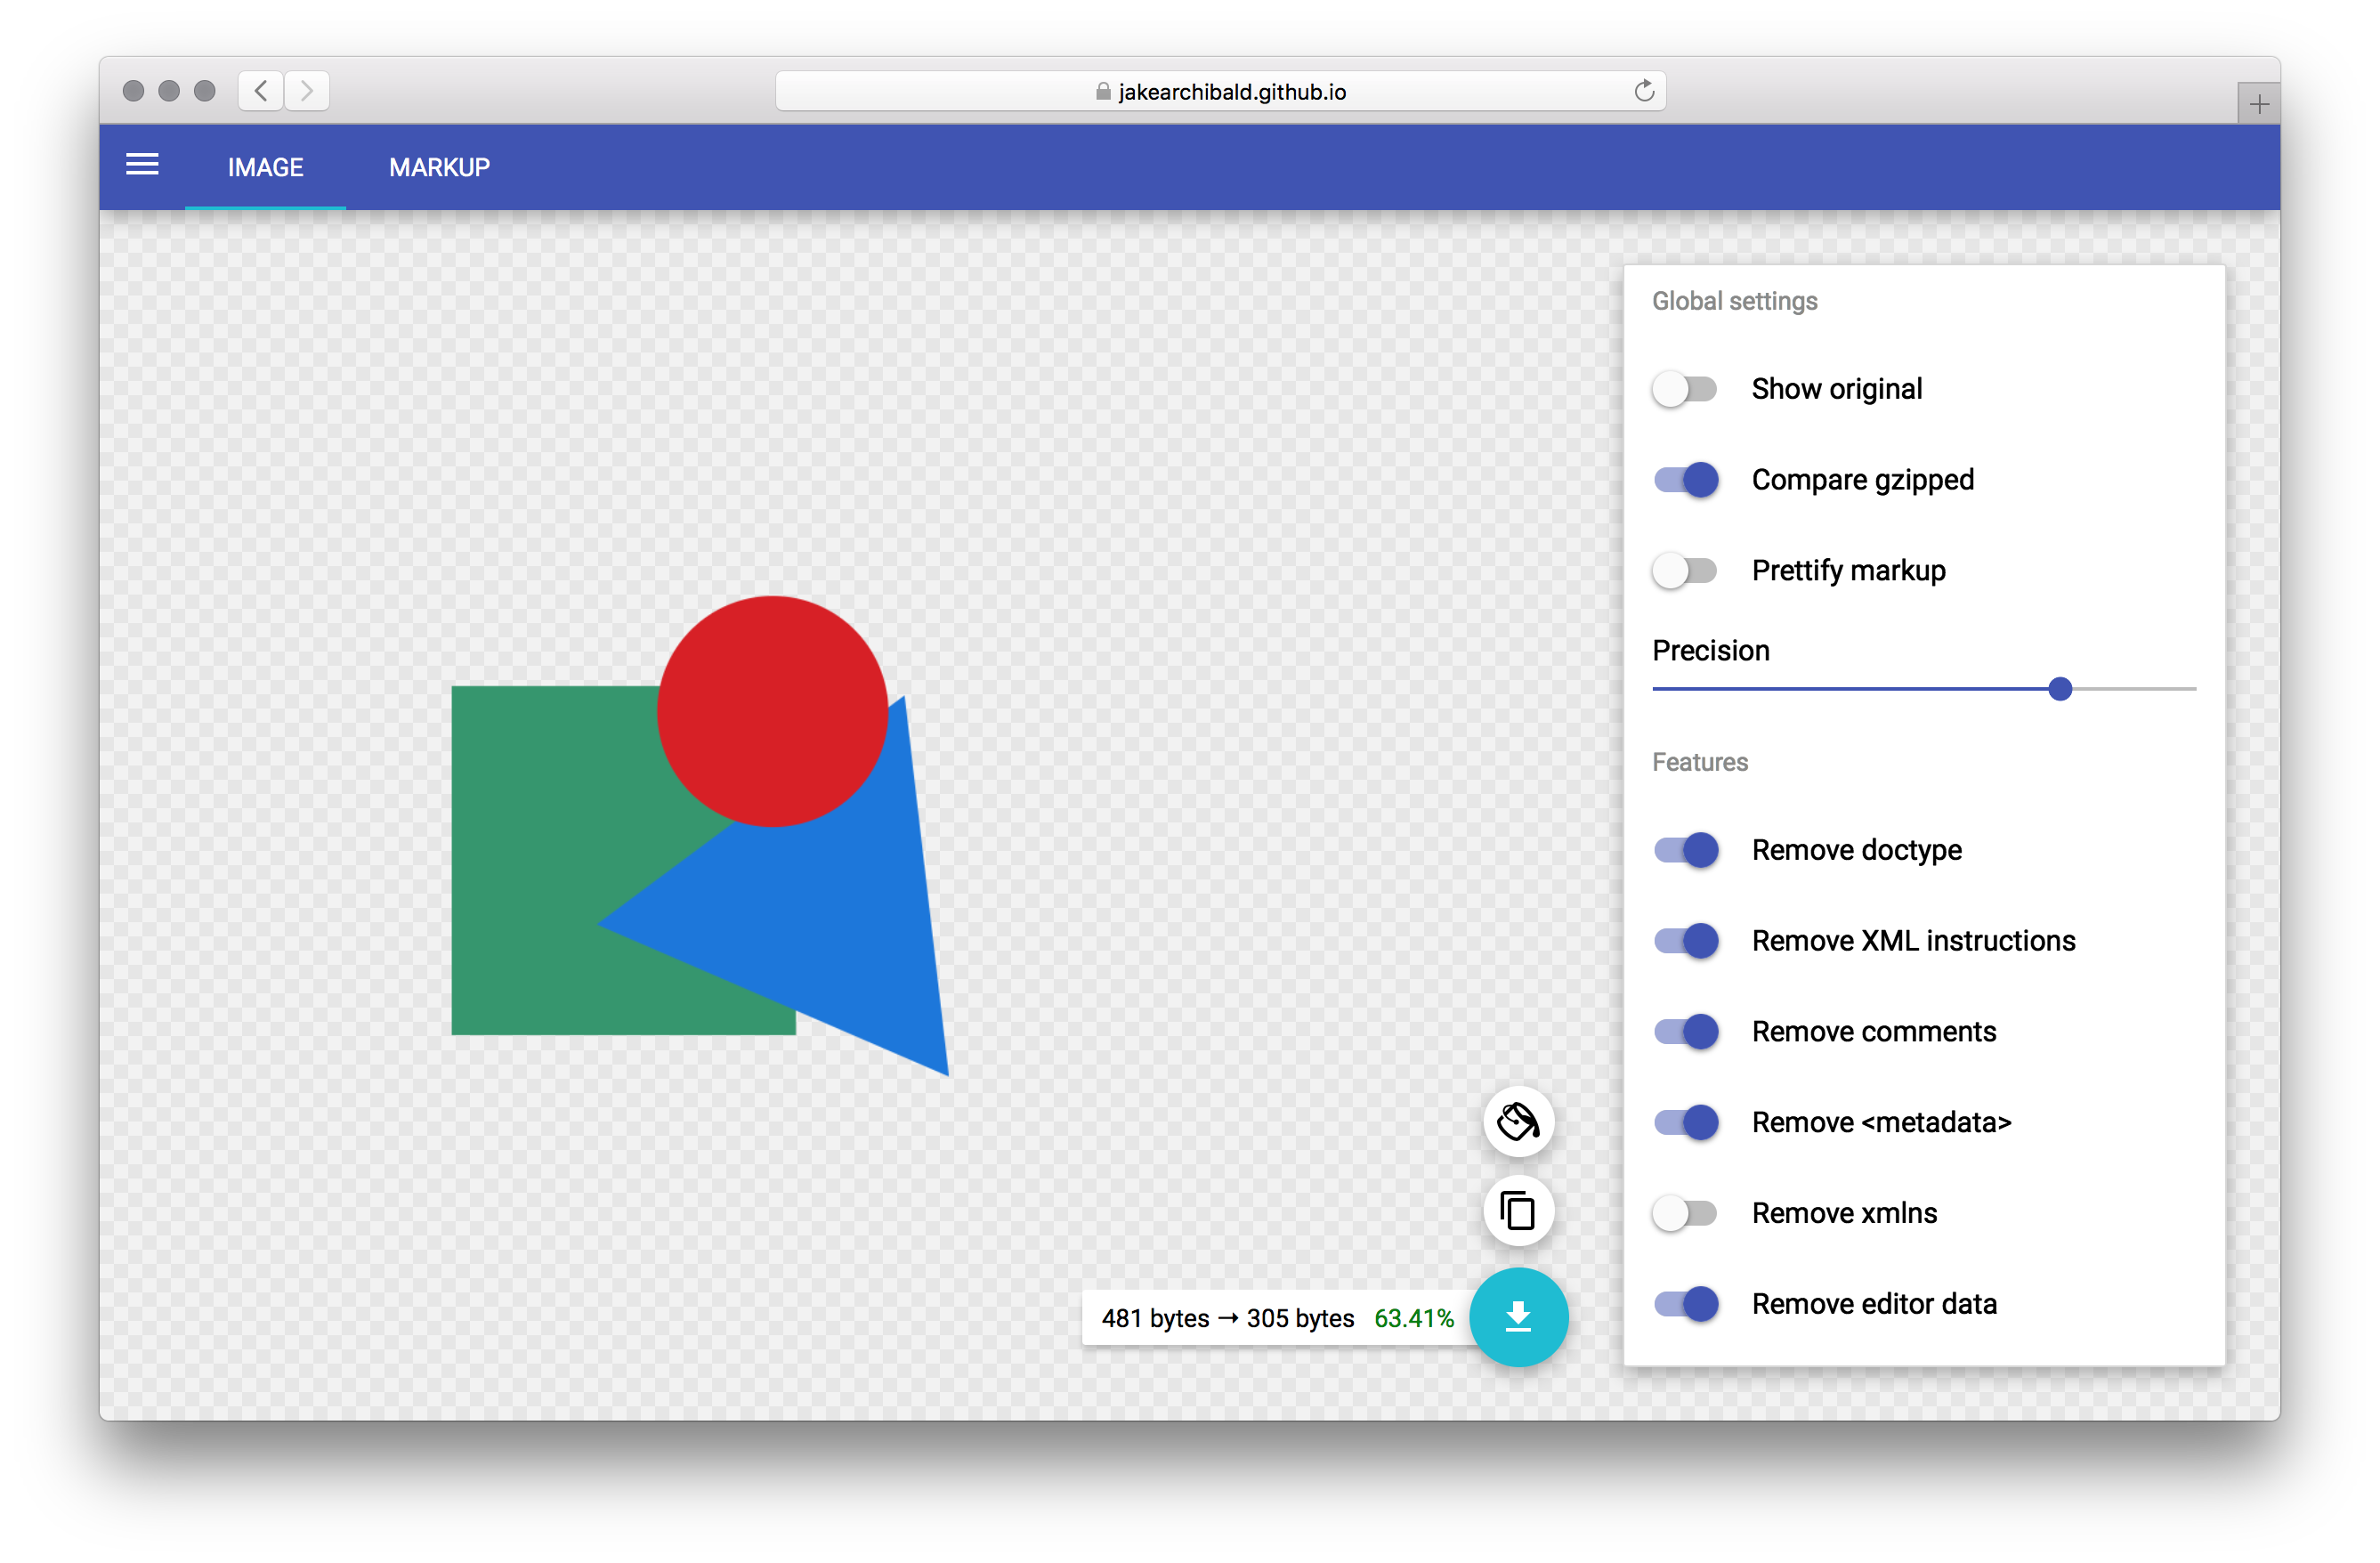
You can adjust the parameters and see the live results. Feel free to find more tools but I recommend starting with something simple, verified and used by the community (which are described here).
Can it be even better?
Yes! First of all you need to think about simplifying your designed graphics, removing not needed elements, choosing the right file type for that image, reducing number of colors, using appropriate dimensions and more… And after that: optimize image. Moreover I described only one format: SVG. There are other tools for the different formats.
Writing about it is a perfect idea for the new blog post in the future. 🙂
Conclusions
- Optimized graphics in lossless way are better than default, non-optimized version: the same quality and smaller size.
- Start with something simple like just run one command
$ svgo image.svg. This solution is good enough at the beginning. - Save your hosting space and quickly improve user experience in a easy way!